
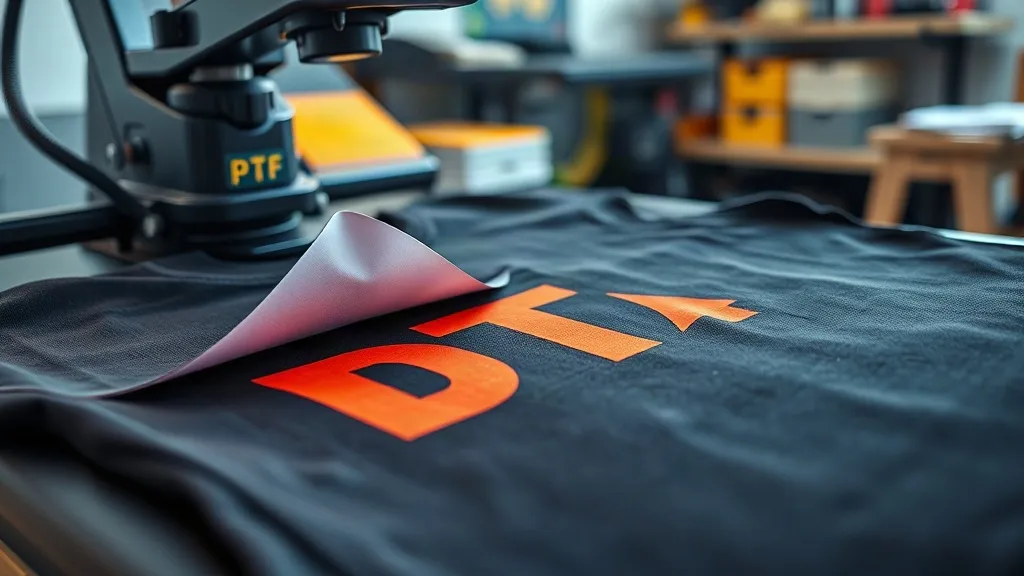
When you need to print on a fabric that resists traditional methods, dtf transfers offer a solution that just works. Unlike vinyl or screen printing, DTF (direct-to-film) technology adheres to cotton, polyester, nylon, and even leather without cracking or fading. In this guide, I'll share what I've learned from years of printing on challenging materials, so you can avoid common mistakes and achieve professional results.
What Are DTF Transfers?
DTF transfers are a type of heat-applied decoration where your design is printed onto a special film, coated with a adhesive powder, and then pressed onto the fabric. The process uses water-based inks that are incredibly flexible, so the print stretches with the garment instead of cracking. The film itself is thin and soft, meaning the final result feels like part of the fabric, not a plastic layer on top.
I remember the first time I tried DTF on a stretchy polyester blend. I was skeptical because other methods had failed, but the print held up through dozens of washes without any peeling. That experience sold me on the technology.
Why Choose DTF Transfers Over Other Methods?
If you've ever struggled with vinyl on dark garments or screen printing on small orders, DTF transfers solve those pain points. Here's why they stand out:
- No color limitations: You can print full-color, photographic designs without worrying about color matching or minimums.
- Works on almost any fabric: From 100% cotton to 100% polyester, and even blends, DTF adheres reliably.
- No weeding or masking: Unlike vinyl, there's no tedious cutting and weeding. The film is ready to press.
- Soft hand feel: The prints are thin and stretchy, so they don't feel heavy or stiff.
- Durability: When applied correctly, DTF prints outlast the garment itself.
How to Apply DTF Transfers for Best Results
Getting a perfect DTF transfer requires attention to a few key variables. I've tested countless combinations, and here's what consistently works.
1. Prepare Your Fabric and Heat Press
Pre-press the garment for a few seconds to remove moisture and wrinkles. Set your heat press to 325°F (160°C) with medium pressure. Too much pressure can cause the adhesive to spread, while too little leads to poor adhesion.
2. Position and Press
Place the DTF transfer with the printed side facing up (the film side against the fabric). Press for 10-15 seconds. I recommend using a Teflon sheet or parchment paper over the transfer to protect it.
3. Peel and Finish
Wait for the transfer to cool completely before peeling. If you peel while hot, the design might stretch or lift. Once peeled, press again for 5 seconds with a cover sheet to ensure the adhesive fully sets.
Common Mistakes to Avoid with DTF Transfers
Even experienced printers run into issues. Here are the ones I see most often and how to fix them.
Using the Wrong Powder
Not all adhesive powders are created equal. Using a low-quality powder can lead to clogged printers or poor wash durability. Always use a powder specifically designed for DTF.
Incorrect Temperature or Pressure
Each heat press is different. I always recommend a test press on a scrap piece of fabric to dial in the settings. If the transfer peels off after washing, increase pressure or temperature slightly.
Peeling Too Soon
Patience is key. Let the transfer cool for at least 30 seconds. If you're in a hurry, a cold peel ensures the adhesive has bonded properly.
DTF Transfers vs. Other Printing Methods: A Quick Comparison
To help you decide, here's how DTF stacks up against common alternatives.
DTF vs. Screen Printing
Screen printing is cost-effective for large orders of simple designs, but it struggles with photographic images and small details. DTF excels at complex, full-color designs and requires no minimum order.
DTF vs. Vinyl
Vinyl is great for single-color text and numbers, but it can't handle gradients or fine details. DTF offers unlimited colors and a softer feel.
DTF vs. DTG
Direct-to-garment (DTG) works well on 100% cotton but often fails on polyester. DTF adheres to both, making it more versatile.
Choosing the Right DTF Transfers for Your Project
When sourcing dtf transfers, consider the film quality and ink type. Cheaper films may feel thicker or yellow over time. Look for transfers that specify compatibility with your fabric type. If you're printing on dark garments, ensure the white ink layer is opaque enough to make colors pop.
Frequently Asked Questions About DTF Transfers
How long do DTF transfers last?
With proper application, DTF transfers can last 50+ washes without fading or cracking. The key is following the correct temperature, pressure, and time.
Can I use DTF transfers on polyester?
Yes, DTF is one of the best methods for polyester because it doesn't require the fabric to absorb ink. The adhesive bonds to the surface, so even 100% polyester works.
Do I need a special printer for DTF?
You can convert a standard inkjet printer to use DTF inks, but it's crucial to use DTF-specific ink and film. Alternatively, you can order pre-printed transfers from a supplier.
What's the difference between DTF and DTG?
DTF involves printing on a film and transferring it, while DTG prints directly onto the garment. DTF works on more fabrics and often has better durability on blends.
Can I stretch DTF prints?
Yes, DTF prints are stretchable. They move with the fabric, so they're ideal for performance wear and stretchy materials.
Final Thoughts
DTF transfers have revolutionized how I approach printing on difficult fabrics. They offer unmatched versatility, durability, and color vibrancy. Whether you're a hobbyist or a commercial printer, mastering DTF can open up new possibilities. Remember to test your settings, use quality supplies, and enjoy the process. With a little practice, you'll achieve results that look and feel professional.