
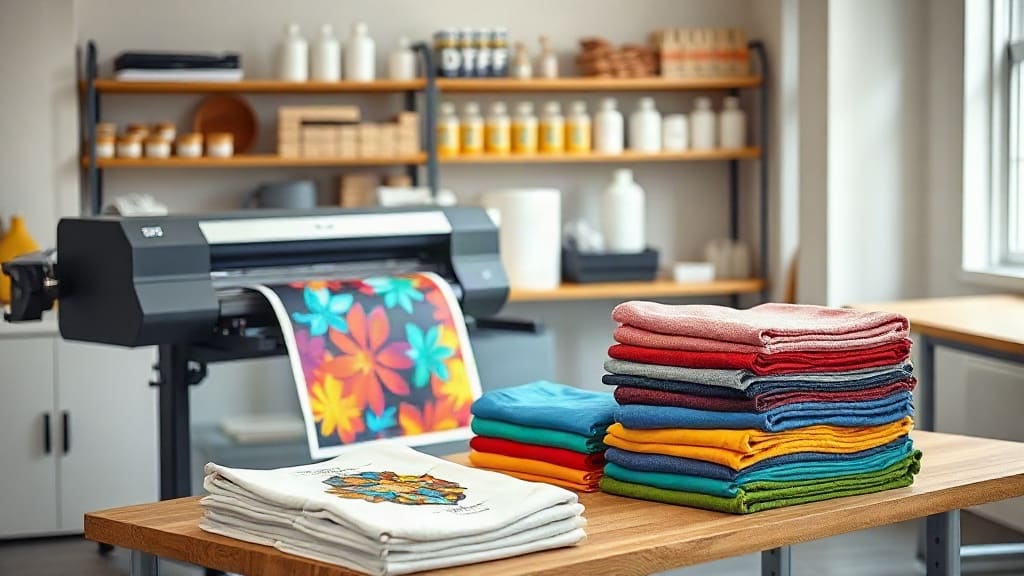
If you're exploring custom apparel decoration methods, you've likely encountered DTF (Direct to Film) printing. Unlike traditional screen printing or even DTG (Direct to Garment), DTF offers a unique blend of versatility and affordability, making it a hot topic among small business owners and hobbyists. In this guide, I'll walk you through the essentials of DTF printing, including costs, setup, and design tips, based on my hands-on experience in the industry.
What is DTF Printing?
DTF is a printing method where a design is first printed onto a special PET film using a printer with white ink, then covered with adhesive powder. The film is heated to cure the ink and powder, and finally, the design is transferred onto a garment using a heat press. This technique works on a wide range of fabrics, including cotton, polyester, blends, and even leather or nylon, without requiring pre-treatment.
DTF vs. Other Printing Methods
Understanding how DTF compares to other methods helps you decide if it's right for your needs. Here's a quick breakdown:
DTF vs. DTG
DTG prints directly onto the garment, which requires pre-treatment and works best on 100% cotton. DTF, on the other hand, prints on film first, so you can transfer to multiple fabric types. DTF also tends to be more durable on darker garments because of the white ink layer.
DTF vs. Screen Printing
Screen printing is ideal for large bulk orders due to lower per-unit costs, but it requires significant setup (screens, emulsions) and is less flexible for detailed, colorful designs. DTF is perfect for smaller batches and full-color prints with gradients and fine details.
Cost to Start DTF Printing
One of the biggest draws of DTF is its lower barrier to entry compared to other methods. Let's break down the initial investment and ongoing costs.
Initial Setup Costs
- DTF Printer: You can choose between converting an existing printer or buying a dedicated DTF printer. A basic Epson conversion might cost $500-$1000, while a professional DTF printer starts around $3000.
- Heat Press: You'll need a heat press for transfers. A basic 15x15 inch clamshell can cost $200-$500.
- Shaker and Curing Oven: These are optional if you buy pre-powdered film, but if you plan to do the powdering yourself, you'll need a powder shaker (around $500) and a curing oven (around $1500).
Ongoing Consumables
- PET Film: A4 sheets cost around $0.20 each, and rolls are more economical for volume.
- DTF Ink: CMYK plus white ink. Ink costs vary, but expect to spend roughly $50 per liter, which can print many transfers.
- Adhesive Powder: Around $30 per kilogram, and you'll use a small amount per print.
Hidden Costs to Consider
Don't forget about maintenance, test prints, and waste. New users often underestimate the learning curve and the cost of prints that don't come out perfectly. Budget for extra film and ink for practice.
Setting Up Your DTF Workspace
Setting up your workspace properly can save you time and frustration. Here are the key components and steps.
Essential Equipment
- DTF Printer: Ensure it has a white ink circulation system to prevent clogging.
- Heat Press: Choose a model that offers even heat and pressure; a swing-away press is easier to use for DTF.
- Film Handling: You'll need a clean, dust-free area for powdering and curing.
Step-by-Step Process
- Print: Print your design onto the film with the correct color profile, ensuring the white ink layer is on the back.
- Powder: Apply adhesive powder evenly over the wet ink while it's still tacky.
- Cure: Shake off excess powder, then heat the film in the curing oven at 160°C for about 2 minutes, or until the powder melts.
- Transfer: Place the film on your garment, cover with a Teflon sheet, and press with the heat press at 160°C for 15 seconds with medium pressure.
- Peel: Peel the film off after it cools slightly, and you're done.
Design Tips for DTF Printing
Creating designs that work well with DTF requires some knowledge of color management and file preparation. Here are proven tips I've learned.
File Requirements
Use PNG files with transparent backgrounds for the best results. Set your design to 300 DPI to ensure crisp prints. If you're using Photoshop or Illustrator, you can create a white layer manually, but most DTF software handles color separation automatically.
Color and Contrast
Because DTF prints a white base, you can use vibrant colors that pop on dark fabrics. However, be mindful of color shifts. Always do test prints to ensure your colors match what you see on screen. Calibrate your monitor and printer to minimize surprises.
Film and Powder Considerations
Use high-quality film with good absorption to prevent ink bleeding. The powder should be applied evenly; too much can cause cracking, too little can lead to poor adhesion. Experiment with powder grades to find what works best for your prints.
Common DTF Printing Mistakes to Avoid
Even experienced printers make mistakes. Here are common pitfalls and how to avoid them.
Incorrect Temperature and Pressure
If your press is too hot or too cold, the transfer won't adhere properly. Always follow the manufacturer's recommendations and test scrap material first.
Poor File Preparation
Avoid low-resolution images that result in pixelation. Always use vector files or high-res PNGs. Also, ensure your design has a proper white underbase for dark garments.
Ignoring Print Head Maintenance
DTF printers require regular cleaning to prevent clogs, especially with white ink. Follow a maintenance schedule and use quality cleaning solutions.
Troubleshooting DTF Prints
Here are quick fixes for common issues:
- Washout: If your print washes off, your curing time might be too short or the powder is not activated enough. Increase curing time slightly.
- Cracking: This occurs when the ink layer is too thick or the powder is over-applied. Reduce ink density and powder amount.
- Fading: If colors fade, check your white ink density and print settings. Ensure the white layer is not too thin.
Scaling Your DTF Business
Once you've mastered the basics, you can scale. Here are strategies to grow.
Offer DTF Transfers Wholesale
Many small businesses sell DTF transfers to other garment decorators. This allows you to print in bulk and sell without needing to press every item yourself.
Expand Your Product Range
Since DTF works on various items, you can offer prints on bags, caps, and even mousepads. Diversify to attract more customers.
Build an Online Presence
Create an online store and market your services on social media. Showcase your work with high-quality photos and videos.
Frequently Asked Questions
Is DTF printing profitable?
Yes, DTF printing can be profitable, especially for small to medium runs. Your profit margin depends on your pricing strategy and efficiency. With a low startup cost compared to screen printing, you can recoup your investment quickly if you market well.
How long do DTF prints last?
DTF prints are durable and can last for many washes if applied correctly. The key is proper curing and using quality materials. In my tests, DTF prints have lasted over 50 washes without significant fading.
Can I use a regular printer for DTF?
You can convert a regular Epson EcoTank or similar printer, but you must use pigment inks and white ink. However, dedicated DTF printers are recommended for reliability and consistent output.
What is the best DTF film?
The best film depends on your printer and preferences. Popular brands include A4 DTF film from suppliers like DTF Print Me. Look for film that has good ink absorption and releases cleanly.
Do I need a curing oven?
While a curing oven is recommended for even heat and faster production, you can use a heat press to cure the powder, though it's less efficient. For beginners, using a heat press to cure is possible, but be prepared for more trial and error.
Final Thoughts
Starting with DTF printing can be a rewarding venture. It offers flexibility, lower costs, and the ability to produce high-quality prints on various items. By understanding the costs, setting up correctly, and following design tips, you'll be well on your way to creating professional products. Remember to practice, test, and refine your process. The community is also a great resource, so don't hesitate to join forums and groups to learn from others. Now, go ahead and make your first print!