
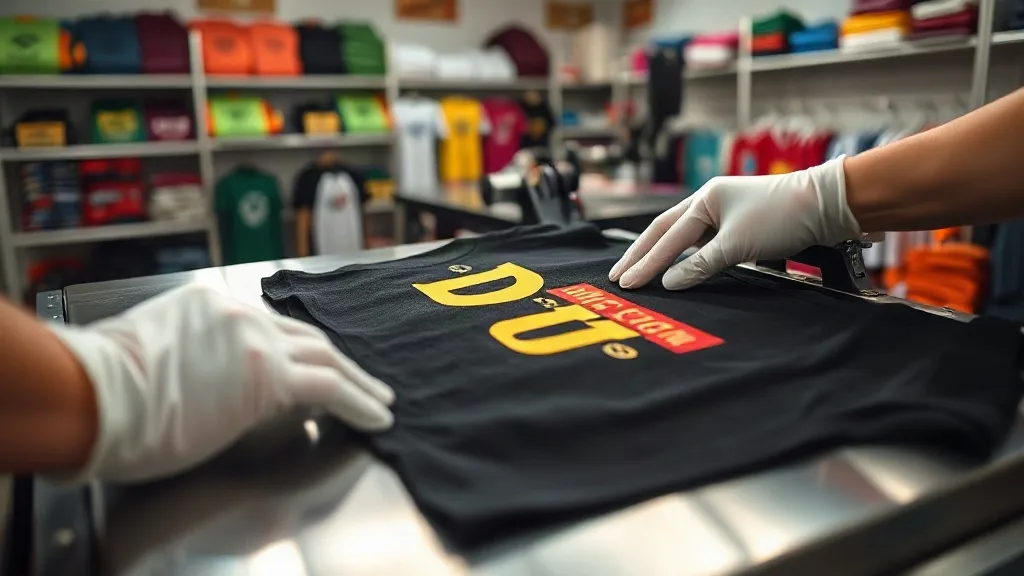
You've invested in a DTF printer, mastered the software, and yet your transfers still come out with flaws. Maybe the colors look washed out, the film wrinkles during printing, or the final press leaves a patchy mess. You're not alone. Even experienced printers encounter these issues, but the good news is that most problems have straightforward solutions. In this guide, we'll tackle the most common dtf transfers problems head-on, giving you actionable fixes so you can achieve consistent, professional results.
Why DTF Transfers Sometimes Fail
Before diving into specific issues, it's helpful to understand the DTF process. dtf printing involves transferring a design onto a special film, applying adhesive powder, and then heat-pressing it onto fabric. Each step has variables that can affect the final outcome: humidity, temperature, pressure, ink quality, and film type. When something goes wrong, it's usually due to one of these factors. Let's break down the most frequent complaints and how to resolve them.
Issue #1: Colors Appear Dull or Faded
You print a vibrant design, but after pressing, it looks muted. This is a common frustration. Dull colors often stem from improper ink saturation or incorrect pressing parameters.
Solutions:
- Check your ink levels and print settings: Ensure your printer is using the correct color profile and that ink cartridges are not low. Sometimes, a clogged nozzle can cause uneven ink distribution. Run a nozzle check and clean if necessary.
- Adjust your heat press temperature: If the press is too hot, it can scorch the ink, leading to faded colors. Too cold, and the ink won't fully transfer. For most DTF films, a temperature between 300°F and 330°F (150°C–165°C) works well. Always follow the film manufacturer's recommendations.
- Use high-quality DTF film and powder: Cheap film or powder can affect color vibrancy. Invest in reputable brands that are designed for your printer type.
Additionally, consider the fabric you're pressing onto. Dark fabrics can make colors appear less bright, so you might need to adjust your design or use a white underbase.
Issue #2: Cracking or Peeling After Washing
You've pressed the transfer perfectly, but after a few washes, it starts to crack or peel. This is perhaps the most common complaint and usually points to adhesion problems.
Solutions:
- Ensure proper powder application: After printing, you must apply adhesive powder evenly while the ink is still wet. Shake off excess powder and cure it properly. Incomplete curing leads to weak adhesion.
- Use the right pressure and time: Insufficient pressure or pressing time can prevent the adhesive from bonding fully with the fabric. Aim for medium to firm pressure and press for 10-15 seconds. For thicker fabrics, increase time slightly.
- Pre-press the garment: Moisture in the fabric can interfere with adhesion. Always pre-press the garment for 5-10 seconds to remove wrinkles and moisture before applying the transfer.
- Wash inside out and avoid harsh detergents: Even with perfect application, improper washing can damage the transfer. Recommend customers to wash inside out in cold water and avoid bleach or fabric softeners.
If you're still experiencing peeling, check the quality of your dtf transfers near me supplier. Poor-quality film or powder can be the culprit.
Issue #3: Film Wrinkling or Shifting During Printing
Wrinkled film not only ruins the design but can also damage your printer. This issue often arises from improper film loading or environmental factors.
Solutions:
- Store film properly: DTF film is sensitive to humidity and temperature. Store it in a cool, dry place, and keep it sealed until use. If the film absorbs moisture, it can warp during printing.
- Adjust film feed settings: Ensure the film is loaded correctly and the feed rollers are clean and properly tensioned. Sometimes, a slight adjustment to the feed speed can prevent wrinkling.
- Control humidity: Ideal humidity for DTF printing is around 50-60%. If your workspace is too dry, static can cause the film to stick or wrinkle. Use a humidifier if needed.
Also, check the film for any pre-existing wrinkles before printing. If the roll is damaged, it's best to discard it.
Issue #4: Patchy or Incomplete Transfers
When parts of the design don't transfer onto the fabric, it's frustrating. This can happen due to uneven pressure, insufficient temperature, or poor powder coverage.
Solutions:
- Calibrate your heat press: Uneven pressure is a common cause. Use a pressure gauge or test with a thermal paper to ensure even pressure across the platen. Adjust the pressure knob accordingly.
- Apply powder evenly: After printing, sprinkle the adhesive powder generously and shake off excess. Make sure the entire design is covered. You can use a powder shaker for more even distribution.
- Press with a protective sheet: Using a Teflon sheet or parchment paper over the transfer can help distribute heat evenly and prevent ink from sticking to the press.
- Check fabric type: Some fabrics, like nylon or treated polyester, may require a lower temperature or a special adhesive. Always test on a scrap piece first.
Issue #5: Ghosting or Double Image
Ghosting occurs when the transfer shifts during pressing, creating a blurred or double image. This is usually a result of poor positioning or movement.
Solutions:
- Secure the transfer: Use heat-resistant tape to hold the transfer in place before pressing. This prevents any movement.
- Press with a smooth, even motion: When closing the press, do it smoothly and avoid jostling the transfer. If using a swing-away press, ensure the upper platen is lowered evenly.
- Pre-press the fabric: As mentioned, pre-pressing removes wrinkles and moisture, providing a flat surface for the transfer.
Preventive Measures for Consistent Quality
Beyond fixing issues, adopting good habits can minimize problems. Here are some best practices:
- Maintain your printer: Regular cleaning and maintenance, including nozzle checks and ink replacement, keep your printer in top shape.
- Use quality supplies: Don't skimp on film, powder, or ink. Reliable suppliers like dtf transfers offer products that are tested for consistency.
- Keep a log: Record settings for different fabrics and designs. This helps you replicate success and troubleshoot faster.
- Train your team: Ensure everyone follows the same procedures. Standard operating procedures (SOPs) reduce variability.
By addressing these common issues and implementing preventive measures, you'll spend less time troubleshooting and more time producing stunning apparel that your customers love.
Frequently Asked Questions
Why do my DTF transfers feel stiff after pressing?
A stiff feel often indicates too much adhesive powder or excessive pressing time. Use a lighter coat of powder and reduce pressing time to 10 seconds. Also, ensure you're using a powder suitable for the fabric; some powders are softer than others.
Can I use DTF transfers on 100% cotton?
Yes, DTF transfers work well on cotton, but adhesion can be slightly less durable than on polyester blends. For best results, pre-press the fabric to remove moisture, use a higher pressure, and consider a fabric-specific adhesive powder.
How long should I wait before washing a DTF-printed garment?
Wait at least 24 hours after pressing before washing. This allows the adhesive to fully cure. For maximum durability, wait 72 hours. Always wash inside out in cold water and avoid tumble drying on high heat.
What causes the transfer to look glossy or shiny?
A glossy finish can result from overheating or using too much pressure. Try lowering the temperature by 10°F and reducing pressure. Also, ensure you're using a matte finish film if you prefer a softer look.
Where can I find reliable DTF transfers near me?
Look for local suppliers who specialize in DTF printing and offer consistent quality. Online reviews and sample requests can help you vet suppliers. For high-quality dtf transfers near me, consider reputable companies that provide detailed instructions and support.