
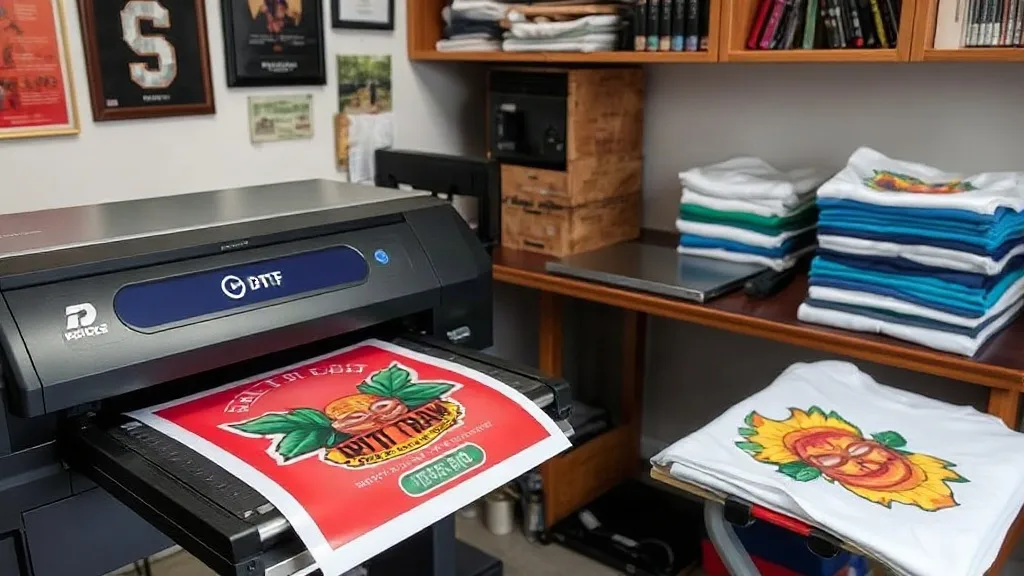
If you run a small print shop, you've probably noticed the growing buzz around DTF transfers. Unlike traditional screen printing or vinyl cutting, this method lets you print full-color, detailed designs onto a special film and then heat-press them onto almost any fabric. The result is a soft, stretchable print that holds up wash after wash. But is it right for your business? Let's dig into the practical side of DTF, from equipment costs to troubleshooting, so you can decide if it deserves a spot in your production line.
What Exactly Are DTF Transfers?
DTF stands for Direct to Film. The process involves printing your artwork onto a PET film using specialized dtf inks, then applying a powder adhesive while the ink is still wet. After curing, the transfer is ready to be heat-pressed onto a garment. The adhesive melts into the fabric, creating a strong bond that feels soft and stretches with the material. Because the design sits on top of the fabric rather than being dyed into it, DTF works on cotton, polyester, blends, and even nylon—something that's tricky with other methods.
Why Small Shops Are Embracing DTF
The appeal is simple: no minimums, no color limits, and no setup per design. You can print one shirt or a hundred without changing screens or cutting vinyl. That flexibility is a game-changer for businesses that handle custom orders, samples, or one-off pieces. Plus, the prints are vibrant and detailed, making them ideal for photo-realistic images, gradients, and fine text.
Cost-Effective for Short Runs
Screen printing requires a screen for each color, which adds cost and time for small batches. With DTF, your main costs are the film, ink, and powder—all of which are used proportionally to the print size. For a run of 10 shirts with a complex design, DTF often comes out cheaper and faster. And because you can gang multiple designs on a single sheet, you can maximize material usage.
Works on Difficult Fabrics
Have a customer who wants a print on a 50/50 blend or a stretchy polyester jersey? DTF handles those with ease. The adhesive bonds well to synthetic fibers, and the print remains flexible without cracking. This opens up possibilities for sportswear, uniforms, and fashion pieces that were previously challenging.
Getting Started: What You Need
To produce DTF transfers in-house, you'll need a few key pieces of equipment:
- DTF printer: A dedicated printer that uses DTF inks and can handle film. Some modified inkjet printers work, but purpose-built models are more reliable.
- DTF ink: Pigment-based inks designed for film transfer. Using the wrong ink will clog your printhead and ruin results.
- Adhesive powder: A thermoplastic powder that melts and bonds the ink to the fabric. It comes in different mesh sizes; finer powder gives a softer feel.
- Curing oven or heat press: To melt the powder evenly. A dedicated curing oven is ideal, but a heat press can work with careful temperature control.
- Heat press: For applying the transfer to garments. A good-quality press with even pressure and accurate temperature is essential.
- PET film: The carrier sheet. It comes in rolls or sheets, and you'll need a version compatible with your printer.
Startup costs can range from a few thousand dollars for a basic setup to over ten thousand for high-production models. If you're not ready to invest, you can always order pre-printed transfers from a supplier and focus on the pressing side.
The Production Process Step by Step
Here's a quick rundown of how a DTF transfer comes together:
- Design preparation: Prepare your artwork in a RIP software that comes with your printer. Ensure colors are vibrant and the image is mirrored if necessary (some printers handle this automatically).
- Printing: Load the PET film and print the design using DTF inks. The printer lays down a layer of white ink first (for opacity on dark fabrics), followed by color.
- Powder application: While the ink is still wet, sprinkle adhesive powder evenly over the design. Shake off excess.
- Curing: Place the film in a curing oven or under a heat source to melt the powder. The ink should become dry to the touch and slightly glossy.
- Pressing: Preheat your heat press to around 300°F (150°C). Place the transfer on the garment with the adhesive side down, cover with a protective sheet, and press for 10-15 seconds with medium pressure.
- Peeling: Wait a few seconds for the transfer to cool slightly, then peel the film off smoothly. The design should adhere completely to the fabric.
Practice on scrap fabric to dial in your press settings. Every fabric behaves a little differently, so keep notes.
Common Challenges and How to Solve Them
Even with a good setup, you might run into issues. Here are a few common problems and their fixes:
Prints Cracking After Washing
This usually means the powder wasn't fully cured or the press pressure was too low. Increase curing time or temperature, and make sure your heat press applies even pressure across the platen.
Adhesive Sticking to the Film
If the transfer peels off with some adhesive left on the film, the press temperature might be too low or the pressure too high. Adjust and test again.
Faded or Dull Colors
Ensure you're using the correct ICC profiles for your printer and ink. Also, check that the white ink layer is thick enough; sometimes a second pass helps.
DTF vs. Other Printing Methods
How does DTF stack up against screen printing, DTG, and vinyl?
- Screen printing: Better for large runs of simple designs, but costly for short runs and full color.
- DTG (Direct to Garment): Great for cotton, but requires pre-treatment and can be slower. DTF works on more fabrics and often has a softer feel.
- Vinyl: Good for simple text and shapes, but not for complex images. DTF handles details and gradients easily.
Many shops use a combination: DTF for small, detailed jobs and screen printing for bulk orders.
Finding DTF Transfers Near You
If you're not ready to invest in equipment, you can still offer DTF prints by ordering transfers from a supplier. Search for dtf transfers near me to find local providers who can ship quickly. Building a relationship with a reliable supplier ensures consistent quality and fast turnaround, which is crucial for customer satisfaction.
Tips for Selling DTF Prints to Customers
When marketing DTF, highlight its advantages: vibrant colors, soft feel, and durability. Show samples on different fabrics to demonstrate versatility. Also, educate customers on care instructions—wait 24 hours before washing, wash inside out in cold water, and avoid ironing directly on the print. Proper care extends the life of the print and keeps customers happy.
Frequently Asked Questions
How durable are DTF transfers?
When applied correctly, DTF transfers can last 50+ washes without significant fading or cracking. Proper curing and pressing are key.
Can I use DTF on dark shirts?
Yes, DTF uses a white ink base that makes colors pop on dark fabrics. Just ensure the white layer is thick enough.
Do I need a special printer for DTF?
You can convert some inkjet printers, but dedicated DTF printers are more reliable and produce consistent results.
What's the minimum order for DTF transfers?
One! That's one of the biggest advantages. You can print a single transfer without setup fees.
How do I store unused DTF transfers?
Keep them in a cool, dry place away from direct sunlight. They can last for months if stored properly.
DTF transfers offer a flexible, cost-effective solution for small print shops looking to expand their offerings. With a bit of practice and the right equipment, you can deliver high-quality, full-color prints on almost any fabric. Whether you dive into in-house production or partner with a supplier, DTF is worth considering for your business.