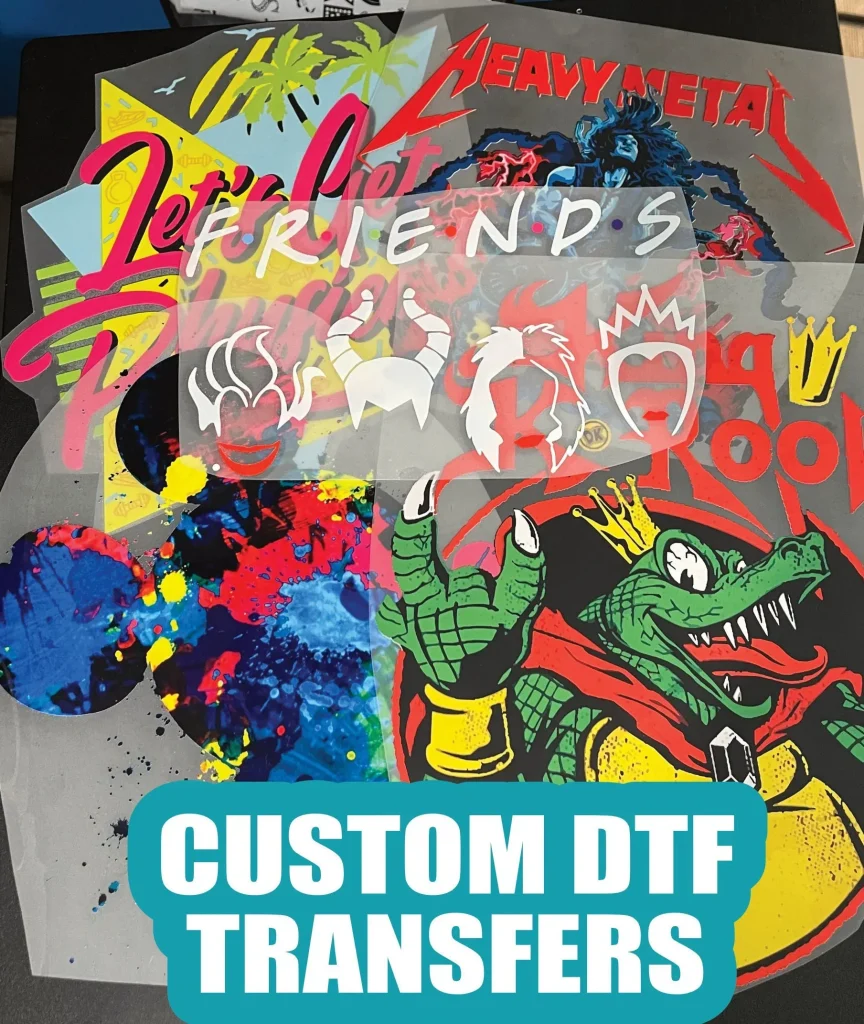
In the world of custom apparel printing, DTF transfers are quickly becoming a game-changer for enthusiasts and professionals alike. Direct to Film (DTF) printing allows users to create vivid designs that are not only visually striking but also durable on fabric. Whether you’re operating a small business or engaging in DIY projects, mastering DTF transfers can elevate your designs and customer satisfaction. This comprehensive guide will provide you with essential DTF printing tips to achieve stunning results every time. Get ready to explore best practices for DTF that will take your garment printing techniques to the next level.
Also known as Direct to Film printing, this innovative technique has gained popularity for its ability to produce high-quality custom transfers. With DTF, printers can transfer intricate designs onto various types of garments, making it a versatile option for creators. This method not only simplifies the printing process but also enhances the overall finish and longevity of your prints. As you delve deeper into this realm, you’ll discover effective tips and tricks that can help maximize your DTF printing projects. Embrace the world of DTF transfers and watch your creativity flourish on fabric!
Understanding Direct to Film Printing
Direct to Film (DTF) printing has transformed the custom apparel industry, offering a cost-effective solution for producing high-quality graphics on various fabrics. This innovative process involves transferring vibrant, detailed ink designs onto a special film, which is then applied to the garment through a heat press. DTF is particularly advantageous for small enterprise owners and home-based businesses, as it requires minimal investment compared to traditional printing techniques, enabling creators to offer unique, personalized items.
Additionally, DTF printing allows for intricate detailing that can capture the essence of any design, making it ideal for complex graphics and images. The versatility of DTF technology means it can be used on a wide array of textiles, from cotton to polyester blends, further expanding its application range. As custom apparel continues to grow in popularity, understanding DTF printing is vital for anyone looking to enhance their garment printing capabilities.
Essential DTF Printing Tips for Beginners
For newcomers to DTF printing, there are several fundamental tips that can vastly improve your results. First, selecting the right DTF transfer film can dramatically affect the quality of your prints. High-quality transfer films provide better ink adhesion and more vivid colors, both critical for creating striking designs. Brands with positive reviews and industry recognition often yield the best results, paving the way for professional-looking output.
Another essential tip for beginners is to adopt optimal printer settings; this includes adjusting nozzle configurations, print speeds, and temperatures tailored specifically for DTF printing. Proper calibration ensures your printer produces a balance of saturation and fine detail in your designs, ultimately resulting in a more polished final product. By adhering to these tips, beginners can build a strong foundation for their DTF printing journey.
Quality Inks: The Backbone of DTF Transfers
The quality of inks utilized in DTF printing plays a crucial role in determining the overall quality of your designs. High-quality DTF inks are specifically formulated to work well with the transfer film, ensuring vibrant and enduring colors that adhere effectively to fabrics. When selecting inks, pay attention to user feedback and industry recommendations that highlight reliable suppliers covering both performance and longevity.
Using premium inks not only elevates your print quality but also enhances the durability of your designs. Well-formulated inks resist fading, washing, and general wear, making them indispensable for producing long-lasting custom apparel. By prioritizing ink quality, you set a solid precedent for the final results of your DTF prints, making it one of the best practices for successful garment decorating.
Pre-Pressing Fabrics for DTF Success
A crucial, yet often overlooked step in the DTF printing process is pre-pressing fabrics. This step involves running a heat press over the fabric prior to applying the DTF transfer, effectively removing any moisture and wrinkles. Pre-pressing is vital for ensuring that the transfer adheres properly to a smooth surface, thus resulting in a crisper, more professional finish on the garment.
Neglecting to pre-press can lead to unevenly applied transfers, which can detract from the quality and appearance of your prints. By instituting a consistent pre-pressing routine, you’ll not only improve adhesion but also set the stage for enhanced print resolution and overall vibrancy in your DTF designs.
Mastering Temperature and Time in DTF Printing
Understanding and mastering the correct transfer temperature and time settings is paramount for achieving optimal results in DTF printing. Each DTF transfer typically comes with its own specifications regarding the exact heat settings needed to melt the adhesive on the transfer film and bond it with the fabric. Consulting manufacturer guidelines and experimenting with sample fabrics can help you find the ideal balance.
Using inappropriate temperature or duration can lead to disastrous results, including insufficient adhesion or, conversely, damaging the film and fabric. By meticulously calibrating these settings, you set yourself up for success, paving the way for vibrant and long-lasting designs that stand out.
The Benefits of Post-Press Treatment for DTF Transfers
Once you have successfully peeled away the DTF transfer film, performing a post-press treatment can significantly enhance the quality and robustness of your prints. This involves applying a quick burst of heat using a heat press after the transfer is applied, which locks the design in place and can also improve the overall finish. Using a protective layer like parchment paper during this step is key to avoid direct contact between the heat press and the design.
Post-press treatment not only ensures that the ink adheres securely but can also help to soften the feel of the printed area, making it more comfortable against the skin. With a little extra effort through post-press treatment, your DTF transfers can achieve heightened durability and professionalism, making these prints not just visually appealing, but also practical for everyday wear.
Frequently Asked Questions
What are the best practices for DTF transfers?
The best practices for DTF transfers include selecting the right transfer film, using quality DTF inks, calibrating your printer settings, and pre-pressing fabrics. Additionally, following correct temperature, time, and pressure settings during the heat press process can significantly enhance the quality of your prints.
How do I optimize printer settings for DTF printing?
To optimize printer settings for DTF printing, ensure your printer is configured specifically for DTF applications. Adjust the nozzle configuration, temperature settings, and print speed accordingly. Regular calibration and testing can help achieve the best output, focusing on saturation and detail.
Can I use any film for DTF transfers?
No, not all films are suitable for DTF transfers. It is crucial to choose high-quality films specifically designed for DTF printing, as they provide better adhesion and vibrant color results, ensuring the success of your custom apparel printing projects.
What temperature and time settings should I use for DTF transfers?
The exact temperature and time settings for DTF transfers can vary by manufacturer, so it’s essential to follow the guidelines provided with your materials. Conducting test runs on sample fabrics will allow you to find the optimal settings for your specific DTF printing process.
Is cool peeling necessary after DTF transfers?
Yes, cool peeling is an important technique after completing DTF transfers. Allowing the film to cool slightly before peeling minimizes the risk of damaging the print and enhances adhesion, leading to longer-lasting results and a cleaner finish.
What file formats are best for DTF printing designs?
For DTF printing designs, file formats such as PNG or TIFF are preferred. These formats maintain image quality and detail, which is essential for ensuring high-resolution prints and successful transfer outcomes.
| Tip | Description |
|---|---|
| 1. Choose the Right Film | Opt for high-quality films designed for DTF applications to achieve better adhesion and color vibrancy. |
| 2. Optimal Printer Settings | Use printer settings tailored for DTF printing, focusing on calibration for optimal output. |
| 3. Use Quality Inks | Invest in DTF-specific inks for better color quality and durability. |
| 4. Pre-Pressing Fabrics | Pre-press fabrics to eliminate moisture and wrinkles, improving adhesion. |
| 5. Correct Transfer Temperature and Time | Follow manufacturer guidelines for optimal pressing temperature and duration. |
| 6. Pressure Settings | Apply consistent pressure to ensure even transfers and good adhesion. |
| 7. Cool Peeling | Allow the film to cool before peeling for better adhesion and print quality. |
| 8. Post-Press Treatment | Perform a post-press treatment to secure the print, using a protective layer. |
| 9. Testing and Calibration | Regularly test and recalibrate your printing process to maintain quality. |
| 10. File Format and Design | Ensure artwork is in compatible formats like PNG or TIFF for quality. |
Summary
DTF transfers have revolutionized the custom printing industry by allowing users to create vibrant, detailed designs on various fabrics. By focusing on essential techniques—ranging from selecting the right materials and ensuring optimal printer settings to implementing proper post-press treatments—you can significantly enhance the quality of your prints. Mastering DTF transfers involves continuous learning and adaptation to the best practices outlined above. With these insights, you’ll be well-equipped to produce stunning designs that elevate your creativity and printing capabilities.